Traveling Light + iPad Pro

As an airline pilot traveling across the globe one of my highest priorities when packing for a trip is not bringing a metric ton of stuff with me. The art of minimalist yet effective packing can be challenging. Thankfully a recent change has helped me pack even lighter while keeping my photography workflow very capable.

For many years I carried evolving versions of laptops as my primary editing machine. Looking back, a couple of those were basically bricks with a screen. As newer laptops became slimmer and lighter it was less and less of a burden but nonetheless even newer 15” laptops are not exactly light. The modern airline pilot carries what we call an Electronic Flight Bag or EFB that replaces all the paper charts we used to lug around in those bulky leather flight cases. Thankfully long gone are those cases & charts but a lot of us still carried a personal laptop along with our company issued EFB. That wasn’t bad, but I wanted to go even lighter. I needed a single device that met my editing needs and the previous EFB (hint, it wasn’t a capable Apple product) just couldn’t do it. 

Thankfully my company switched to the iPad Pro for our EFBs and wouldn’t you know it this thing is small, light and capable of some serious on-the-road photo editing. Since the switch I’ve been able to leave the laptop at home and figured I’d share my editing process & thoughts on mobile workflow. Let’s see if a photographer can get away with just an iPad while traveling.

Editing on the road made easy with Affinity Photo and a good cup of coffee.

Editing on the road made easy with Affinity Photo and a good cup of coffee.

The Import Process 

There are various ways to bring your photos into your workflow. Depending on what camera you are using a bluetooth connection via app or using Apple’s SD card reader can easily be used. The majority of the time I use the SD reader as it is much quicker for importing photos than wireless methods. If I have only a handful of photos I really want, I’ll use Fuji’s app to grab a few photos directly from my X100T via a WiFi connection. Speaking of which, the updated Fuji app is much better than its predecessor and actually works like a charm now.

Whichever method you choose, your imported photos will go directly to your Photos app in one large folder of sorts (more on that below) where you can access your images from within editing & sharing apps.

My photography app collection. The majority of my on-the-road editing, managing & sharing needs are easily met.

My photography app collection. The majority of my on-the-road editing, managing & sharing needs are easily met.

The things you find wandering about in the hutongs of Beijing - X100T edited in Snapseed.

The things you find wandering about in the hutongs of Beijing - X100T edited in Snapseed.

Editing 

There are a myriad of editing options available from ‘filter’ based apps such as VSCO or Snapseed (which also have in depth editing) to advanced options such as Lightroom and Affinity Photo. My go to apps are usually Snapseed and Lightroom, but if I need a more advanced set of features I’ll import to Affinity for things such as merging panoramas or focus stacking. In fact, Affinity’s focus stack and pano features make packing light even easier with the ability to stack images from my fixed lens X100T to get the wide aspect that is usually reserved for much wider focal lengths.

I try not to over-edit images, instead keeping them what the human eye saw since even the best cameras have a hard time reproducing the tones, saturation and depth we can see. So for my editing needs the iPad is more than enough and with apps such as Affinity one can utilize layers & masks to your heart’s content to make your images pop how you like.

Of course what good are your editing efforts if your screen sucks? While calibrating an iPad screen for printing isn’t really a thing you can adjust your brightness manually and using a reference image to watch for highlights and shadows will keep you in check. Generally the screen does a good job of representing the colors/tones you’ll see but for reproducible color & printing profiles you are best to keep that at home on your calibrated monitor.

Managing Pictures & Storing

One of my biggest complaints about iOS is the lack of a true file management system, you are basically dumping your photos into one giant folder with limited ability to do advanced sorting as you can do on a Mac or Windows based machine. While the ‘Albums’ feature is semi-useful it isn’t a replacement for a robust system.

Thus far I’ve managed to keep the overall numbers of my pictures low on my iPad only editing as I need and not using it for a dumping ground. One thing I’m considering is utilizing Dropbox more since you can import directly from Affinity and of course utilizing the options of Adobe Cloud services though I have yet to embrace that either. The good news here is that if you are invested in a cloud service already you have options for managing your library via the iPad.

For me, I believe the keep it simple principle applies here, import, edit, share and I’ll backup relevant photos once I’m home on my primary drives. This also keeps my images safe in case I lose my iPad while at work or it somehow gets ran over by a hotel van.

Sunset at the Egg in Beijing, edited with the Snapseed.

Sunset at the Egg in Beijing, edited with the Snapseed.

Sharing

Taking a photo is of course step 1, step 2 is editing and finally the most important is sharing your vision with the world. Which social app or venue you use is of course up to you, but working with the iPad makes sharing a snap. Most social apps are integrated into iOS not to mention the ability to Airdrop a photo right to your friend’s phone.

Other useful apps include a dedicated 500px app, Adobe Spark for making creative story driven pages and Bay ROES to send my images directly to my print lab. The iPad excels here at getting your images out to your adoring fans.

Twinkling Stars in Boston - Fujifilm X100T edited in Snapseed

Twinkling Stars in Boston - Fujifilm X100T edited in Snapseed

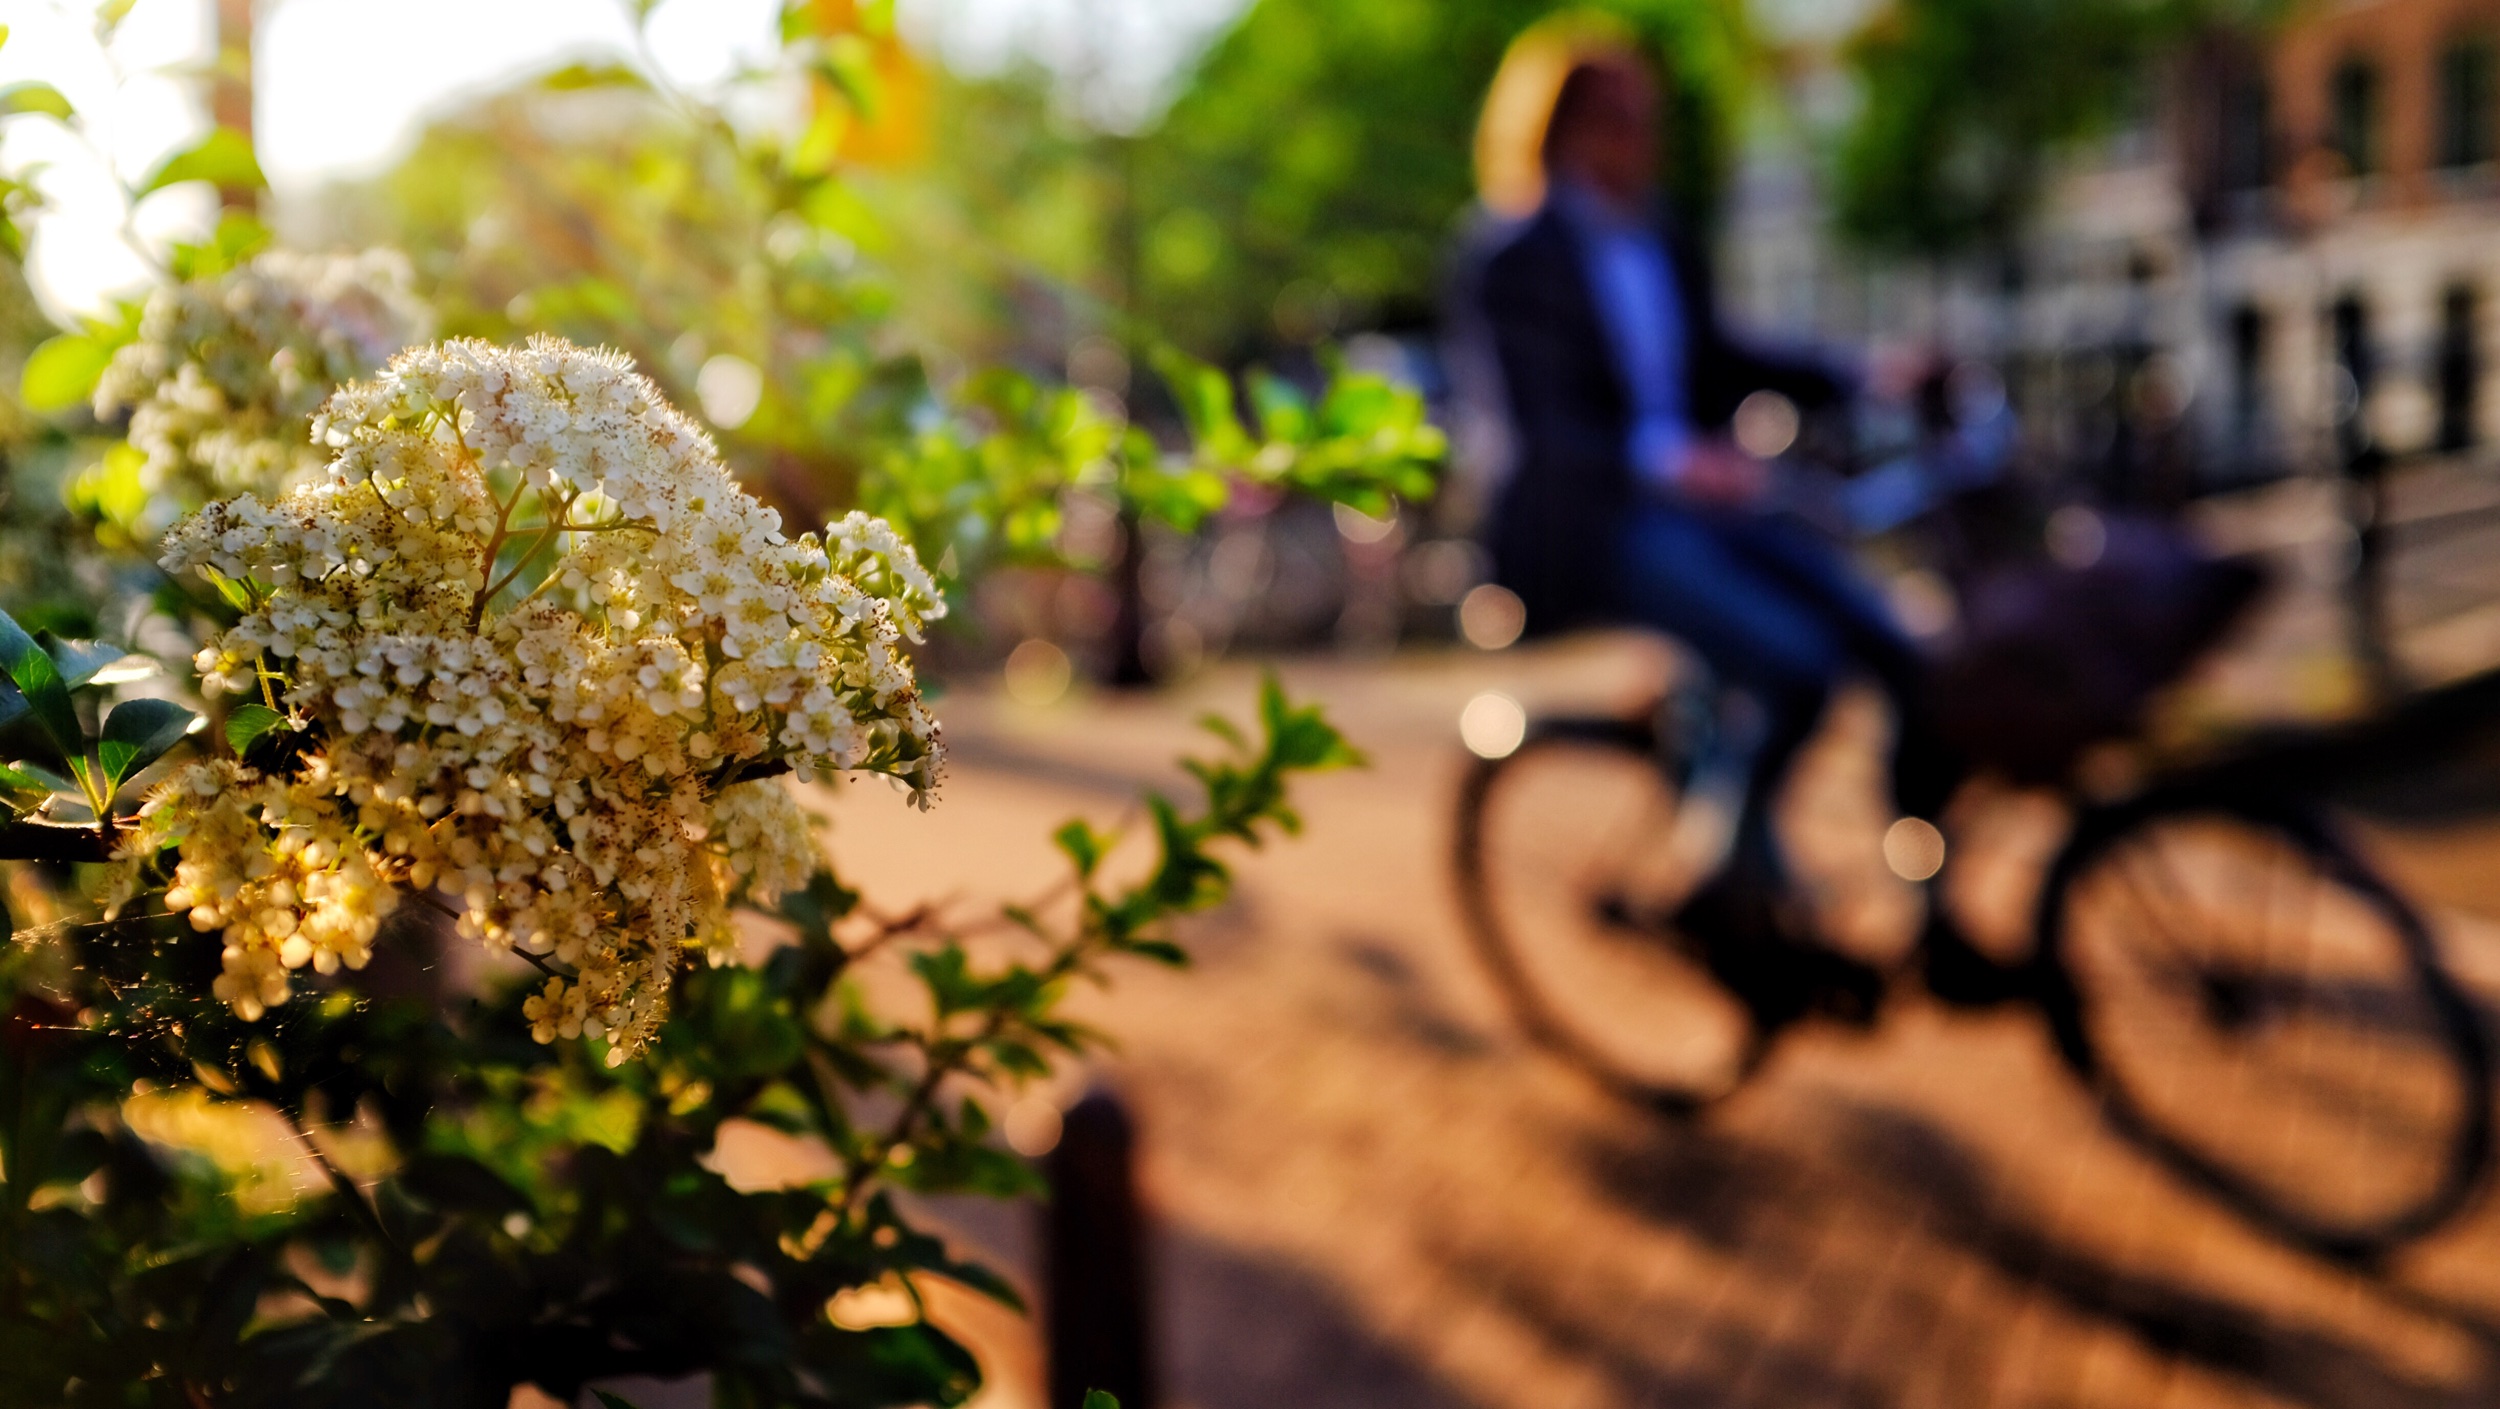
Exploring Amsterdam - Fujifilm X100T edited in Snapseed

Exploring Amsterdam - Fujifilm X100T edited in Snapseed

Additonal Needs

Aside from editing, what use is a device if you can’t easily write blog posts, plan locations shoots and spend too much time drooling over new camera gear? With handy accessories such as a bluetooth keyboard and the Apple Pencil writing blog posts and finer editing is a breeze.

I also utilize various map apps such as maps.me and the ever useful Google Maps for planning and exploring new places. Maps.me is a wonderful app allowing you download offline maps in case you won’t have data at your destination.

For editing my website I use Squarespace to manage all things you see here and thankfully they’ve just launched refreshed & robust app. Again an iOS specific app delivers and I’m able to manage my business and presentation to the world whilst on the road.

Final Thoughts

So can an iPad replace my computer on the road? Sure can! There are a few limitations but for most edits and everyday use I don’t miss lugging my laptop around at all. It’s proven to be more than capable and harnessing what it has to offer has a wonderful thing. Not to mention I can sleep better knowing my primary laptop is safely at home when I travel.

Ultimate Travel Camera - That Almost Was LUMIX LX10

This is the promised follow up about a camera that I purchased, sort of liked and then sold in short order. After much toiling I purchased the Panasonic LUMIX LX10 last year and initially really [sort of] liked it. It’s a small, sleek (errr...slick), functional and well appointed carry-everywhere-with-you camera. Yet, it wasn’t ultimately what I was hoping for. Let’s break it down and I’ll share a few images from my short journey with the LUMIX to see why it didn’t make the cut.

One of the bright spots of the LX10 was the macro capability. Here we see Photo Lego Dude committing for the shot in Hawaii.

One of the bright spots of the LX10 was the macro capability. Here we see Photo Lego Dude committing for the shot in Hawaii.

Form Factor & Reliability

One of the major factors in deciding on an everyday carry is the size & how it fits in your hand. The LX10 nailed both of those well enough, but it was almost too small without the addition of some sort of grip as it was a very slick camera to hold onto. Thankfully I never dropped it but came close a few times (love that wrist strap). The much lauded Sony RX100 series suffers from the same design flaw as well. A bit of grippiness could have gone a long way in keeping this thing around. The on/off switch was also unfortunately very easy to activate and I’d sometimes reach into my bag only to find the battery was drained. Clearly not a good thing if time is of the essence for a particular scene.

After a short time of use the lens closure (automatic cover) developed an annoying issue. It wouldn’t fully close or open when turning the camera on/off. This of course didn’t affect the way it captured photos per se, but was a pain as I needed to pay attention so as to not miss a photo opportunity with the closure stuck half open (assuming the battery wasn’t dead). I ultimately sent it back for warranty twice for this issue and it worked great after the second fix. Nonetheless, I wasn’t overly impressed and lost weeks of time without the camera while it was being repaired.

Mt. Rainier looking formidable above the clouds. I believe big zooms on compact cameras are in the gimmicky range but occasionally they are useful.

What I Liked

For a small body and 1” sensor the LX10 actually captured pretty decent photos.  The Leica f/1.4-f/2.8 lens is an excellent addition that I felt without the camera would have been pure ‘meh’. It is decently sharp with a useful 24-72mm optical zoom range and a slightly useful digital zoom for a touch more reach.

The articulating screen while fairly standard on cameras these days is a welcome & useful addition for low angle shooting. I’ve really adapted and gotten used to having an articulating screen and fully believe they belong on modern cameras.

The macro capability was actually quite good for such a small sensor and the focusing range nearly down to an inch it makes for easy floral shots or of course Lego Photograhers.

Gimmicks

Though technically most cameras come with what are better known as ‘features’ I like to call them ‘gimmicks’ depending on their usefulness. Things such as the aforementioned articulating screen and 4K focus stacking are arguably useless if they are not well executed. The 4K focus unfortunately stacking falls in the gimmicky range. I was looking forward to this feature for shots of Photo Lego Dude’s adventures, but in the end the results always left something to be desired. Better to manually stack images in Photoshop for truly sharp results.

How about that touch screen you say? Actually yes, it was useful and I enjoyed being able to select focal points with it and navigating the less than stellar menu system with relative ease. Seems everything is touch screen these days and that isn’t always a bad thing. So not quite gimmicky.

Low light/indoor shooting was mildly effective with the LX10, if you bumped up the ISO image quality was quickly lost. At the Tsukiji fish market in Tokyo.

Low light/indoor shooting was mildly effective with the LX10, if you bumped up the ISO image quality was quickly lost. At the Tsukiji fish market in Tokyo.

Chicago at night. One of the few favorite images that I captured with the LX10, for those that like natural star bursts f/8 worked perfect in this case.

Chicago at night. One of the few favorite images that I captured with the LX10, for those that like natural star bursts f/8 worked perfect in this case.

What else does one do in Tokyo but visit a cat cafe? LX10 had the occasional great natural tones with good enough light.

What else does one do in Tokyo but visit a cat cafe? LX10 had the occasional great natural tones with good enough light.

The LX10’s portability was one of it’s best features, small & lightweight makes it great for coming along on the ride or in the backcountry.

The LX10’s portability was one of it’s best features, small & lightweight makes it great for coming along on the ride or in the backcountry.

Final Thoughts

Ultimately I found the LX10 uninspring and at times frustrating to shoot with but also occasionally useful and fun. I’ll probably miss it at times, but it wasn’t a camera that I felt I could get repeatable results with or print with confidence if I did capture a good moment. Would I recommend it as a general point & shoot for vacation memories or backpacking camera? Certainly. But for the discerning pro or enthusiast who needs a little more from their everyday carry looks elsewhere. Something like say...oh a Fuji X100 series.

Sleeklens Presets Review

I was recently given the opportunity to test & review some handy Lightroom presets from the nice folks over at Sleeklens. If you use Lightroom much you are probably familiar with the usefulness of presets. Though it's nice to have handy one-click editing at your fingertips, I always consider presets to be a starting point and not a finishing point. This is where presets such as those offered by Sleeklens can come in handy.

How I Create & Edit Images

Before we delve into the before & afters, a quick primer on how I shoot & edit might be handy. I'm of the school of thought that getting the image right in the first place is the best starting point in making good images. Though the camera's sensor and human eye never see the same scene as it was. Digital images often need updated [edited] to do the scene justice as your eye saw it.

So when I do use presets they are 'primers' or 'starters' then I fine tune the image with Lightroom's individual controls as I go along. The nice thing about Sleeklens' offering is that it is built as a 'layered' system to editing in Lightroom that others don't accomplish. So there can be less 'right panel' editing and quicker 'left panel' edits to achieve a similar result. 

Not Just Another Preset

As I mentioned above, Sleeklens presets use a sort of building block or layering method. While their presets also come with 'all-in-one' clicks that you might be used to the stackable options are a different approach. I won't explain how that works in detail as they have put together a short video on exactly how it works, but you can see some examples I used below.

The other handy thing I really enjoyed using are the brush presets, which handily also function in the gradient tool. While you can always customize your brush settings to your heart's content having quick presets in the brush & gradient menu can speed up your workflow. 

Alright, enough chatter - let's get into some before & after images to see what these presets are all about.

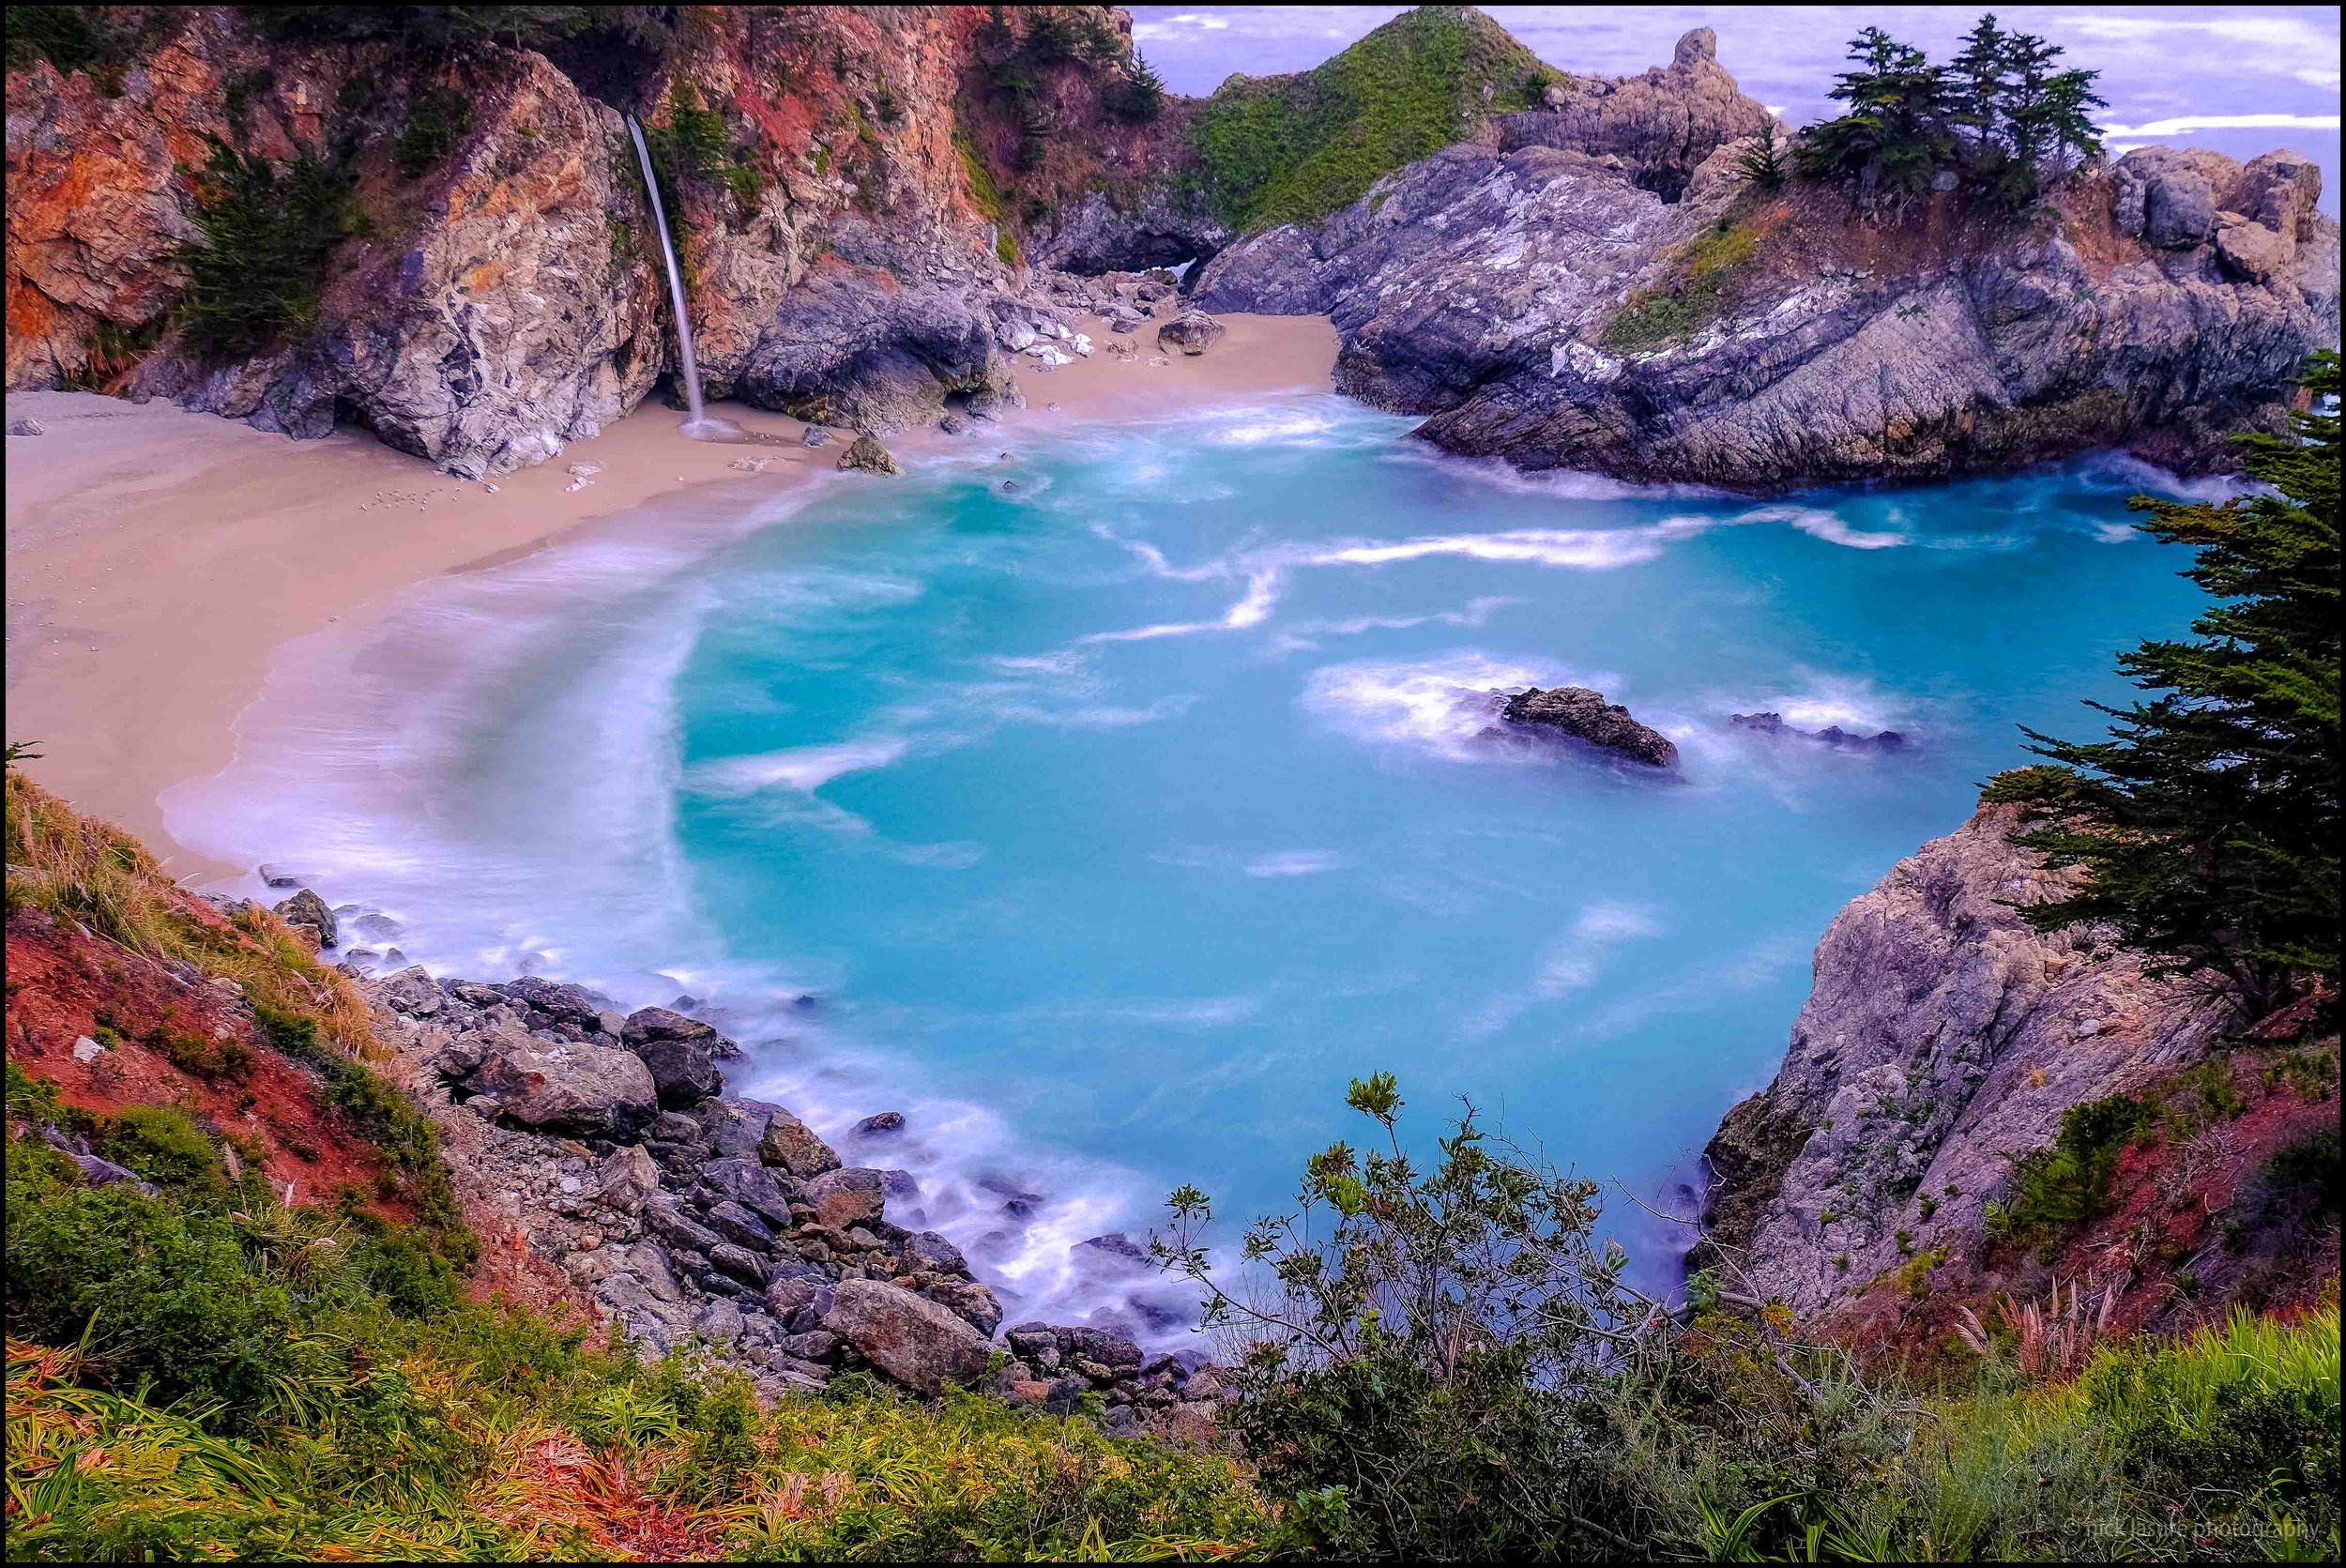
Before/After #1 - This was an image from McWay Falls in Big Sur, California. The image on the left was SOOC from my Fuji X-T1 as a JPEG with a 10 second exposure. For this edit I decided to show what the all-in-one preset can do with no further touches. This was the Calm Sunset preset from the Through the Woods landscape collection. I really like the warm tones and clarity the preset gave the image.

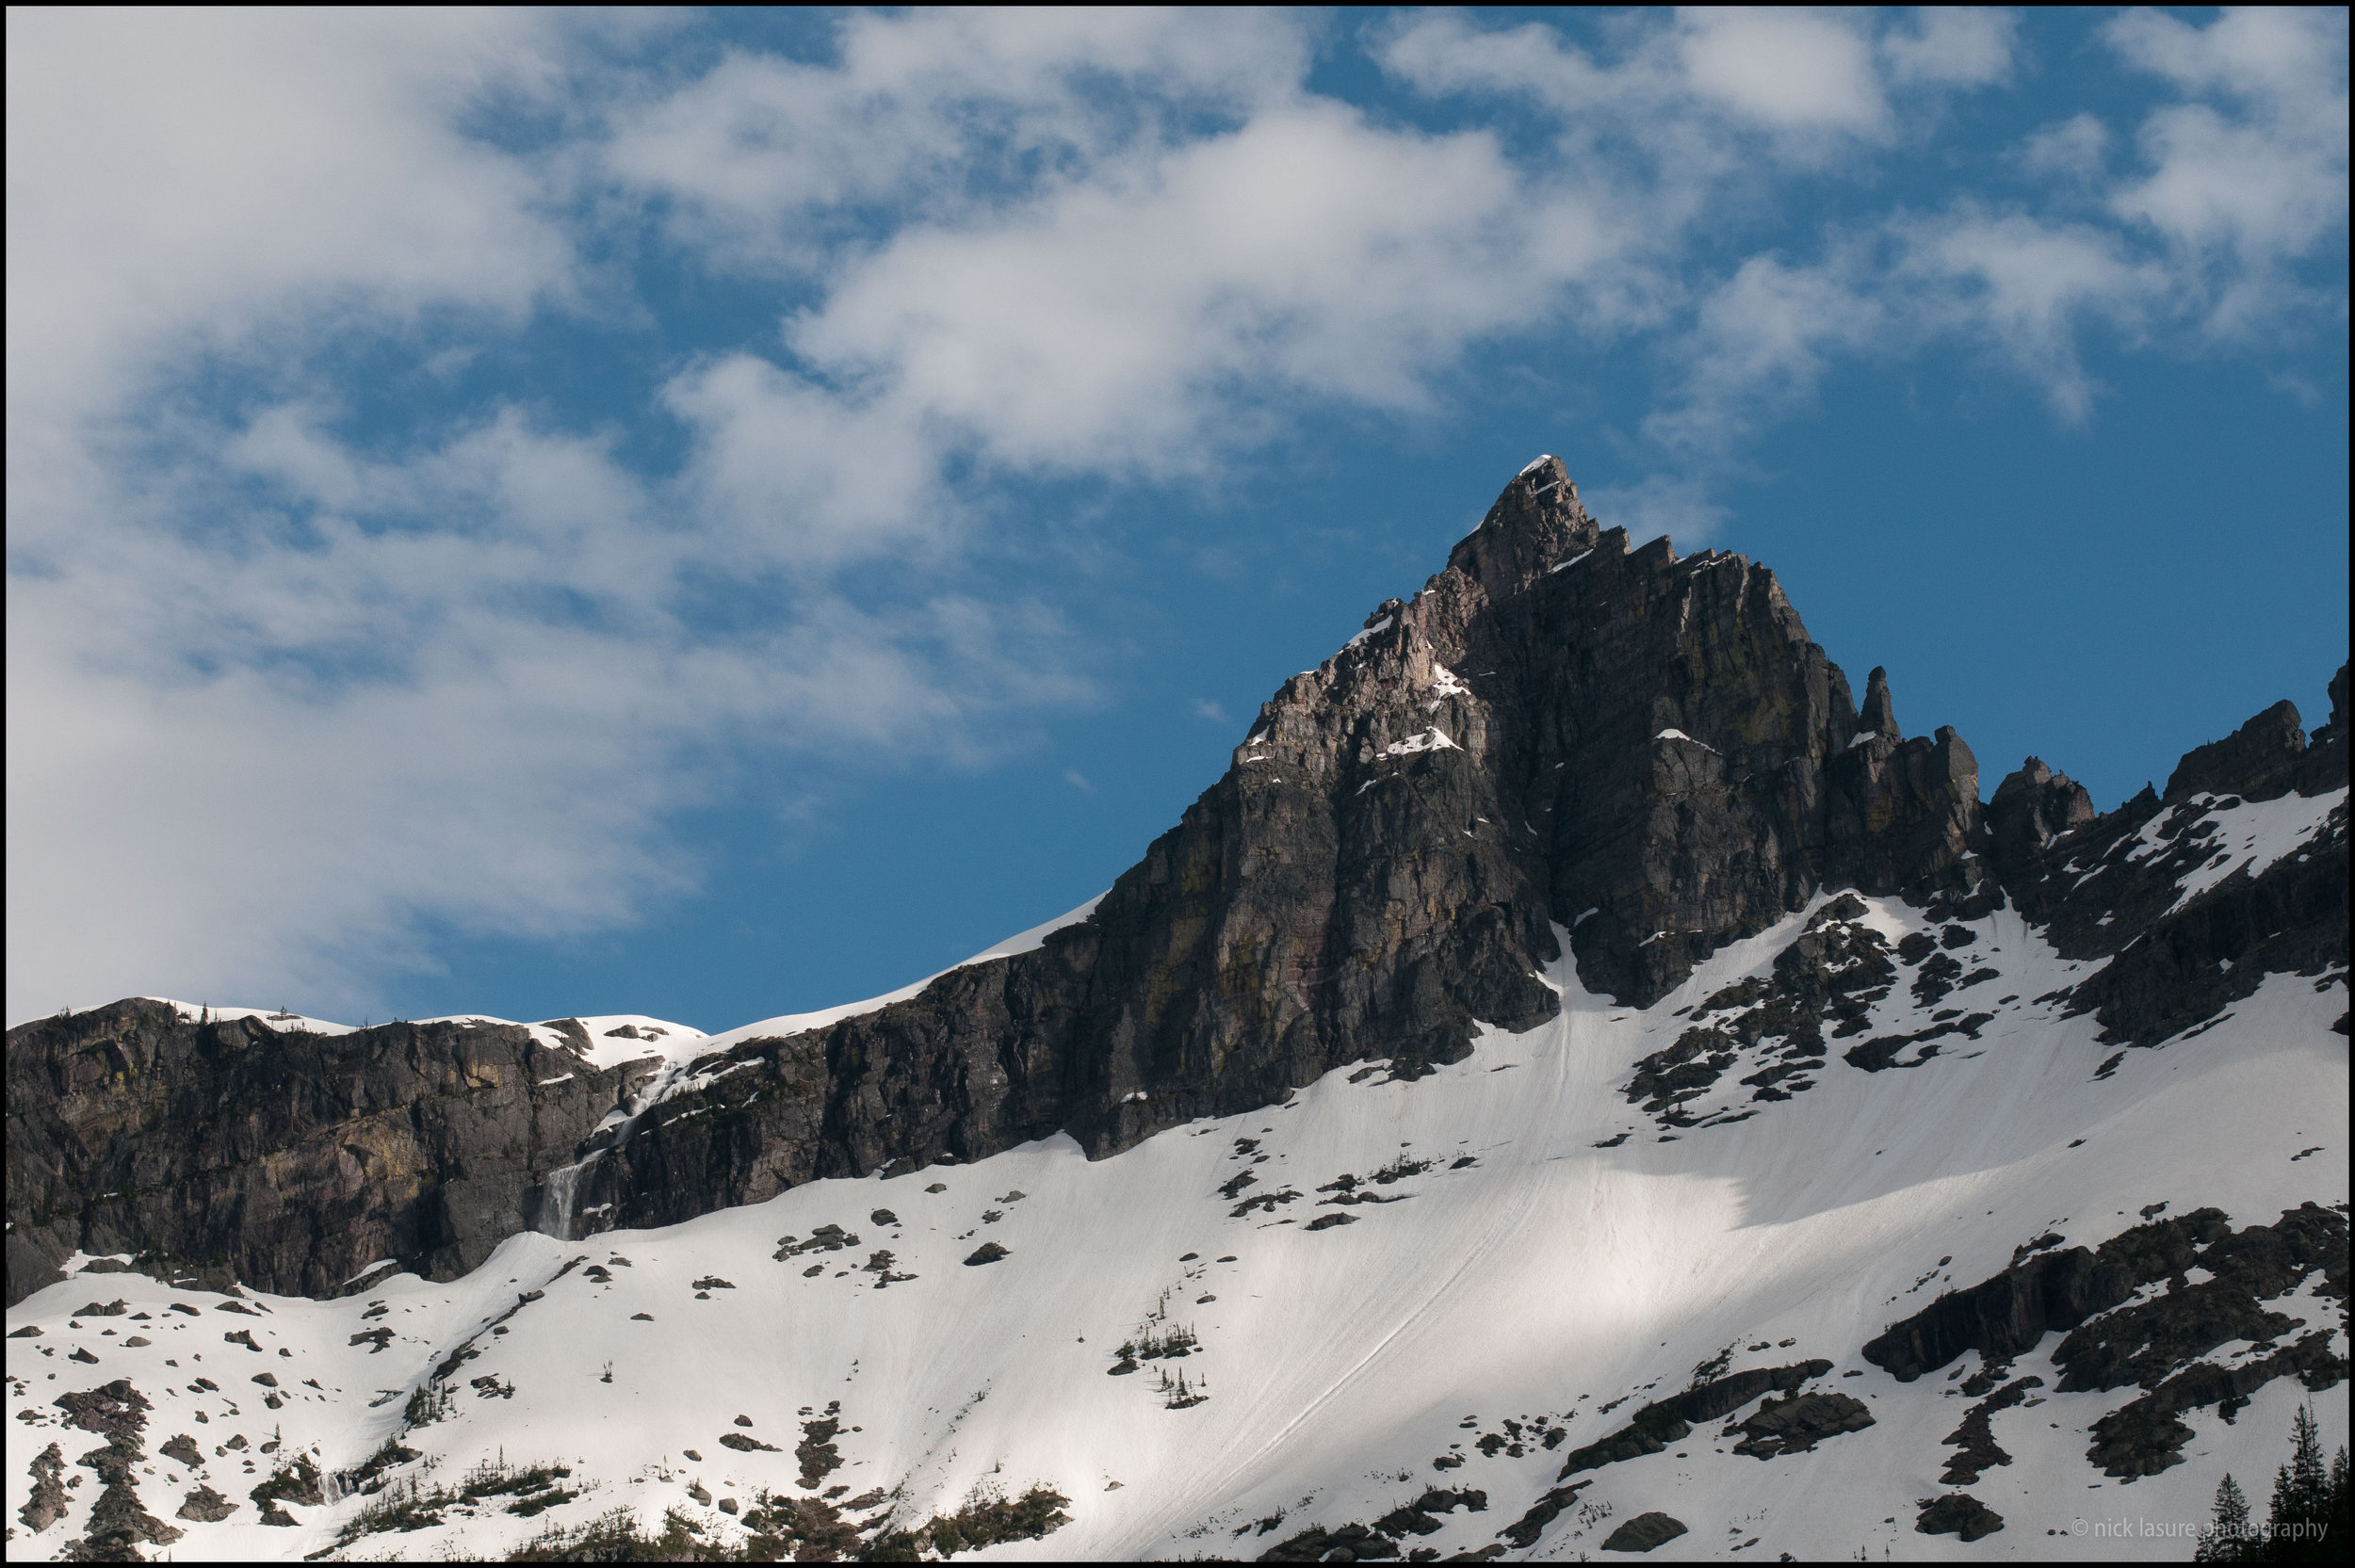
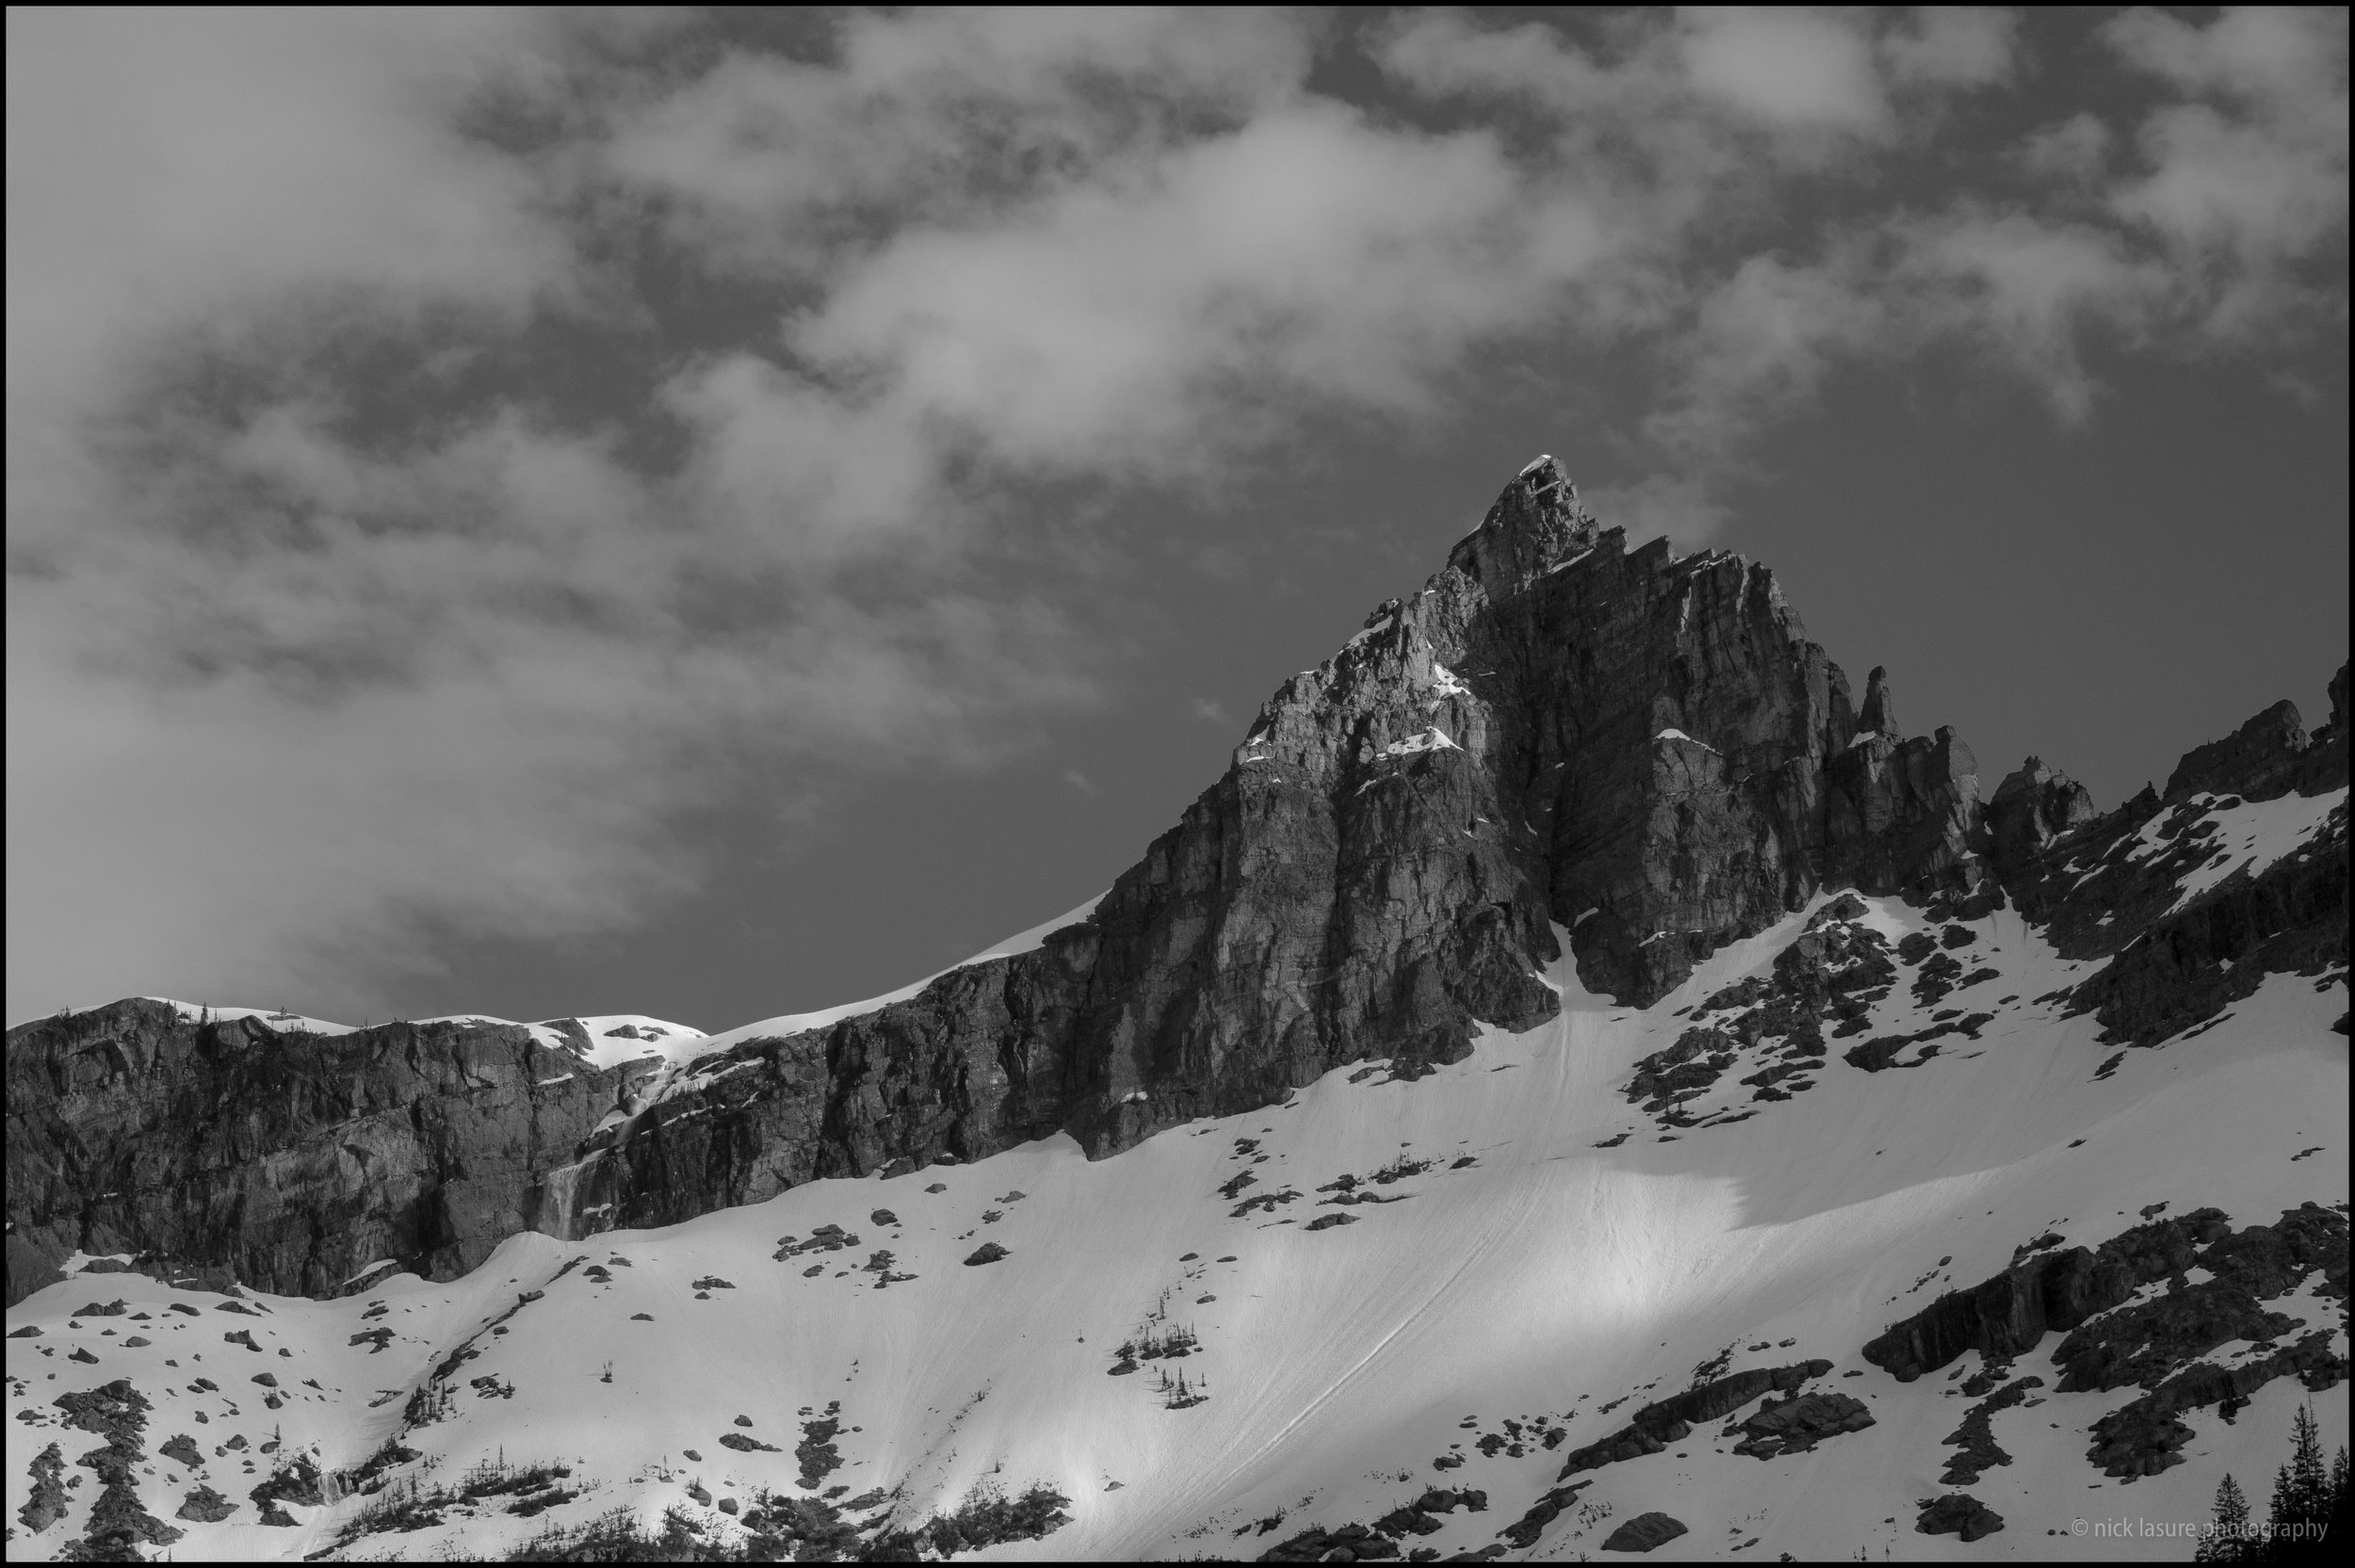
Before/After #2 - This image is from Glacier National Park in Montana. Taken with my old Nikon D300 the original file was a RAW file (NEF) with good exposure. Though I thought it might look better as a black & white image with a few adjustments. So I used the layering/stacking method with the following presets in this order:  (1) Base - Monochrome Fantasy (2) Exposure - Less Highlights (5) Polish - Less Contrast (6) Vignette - Subtle Black.

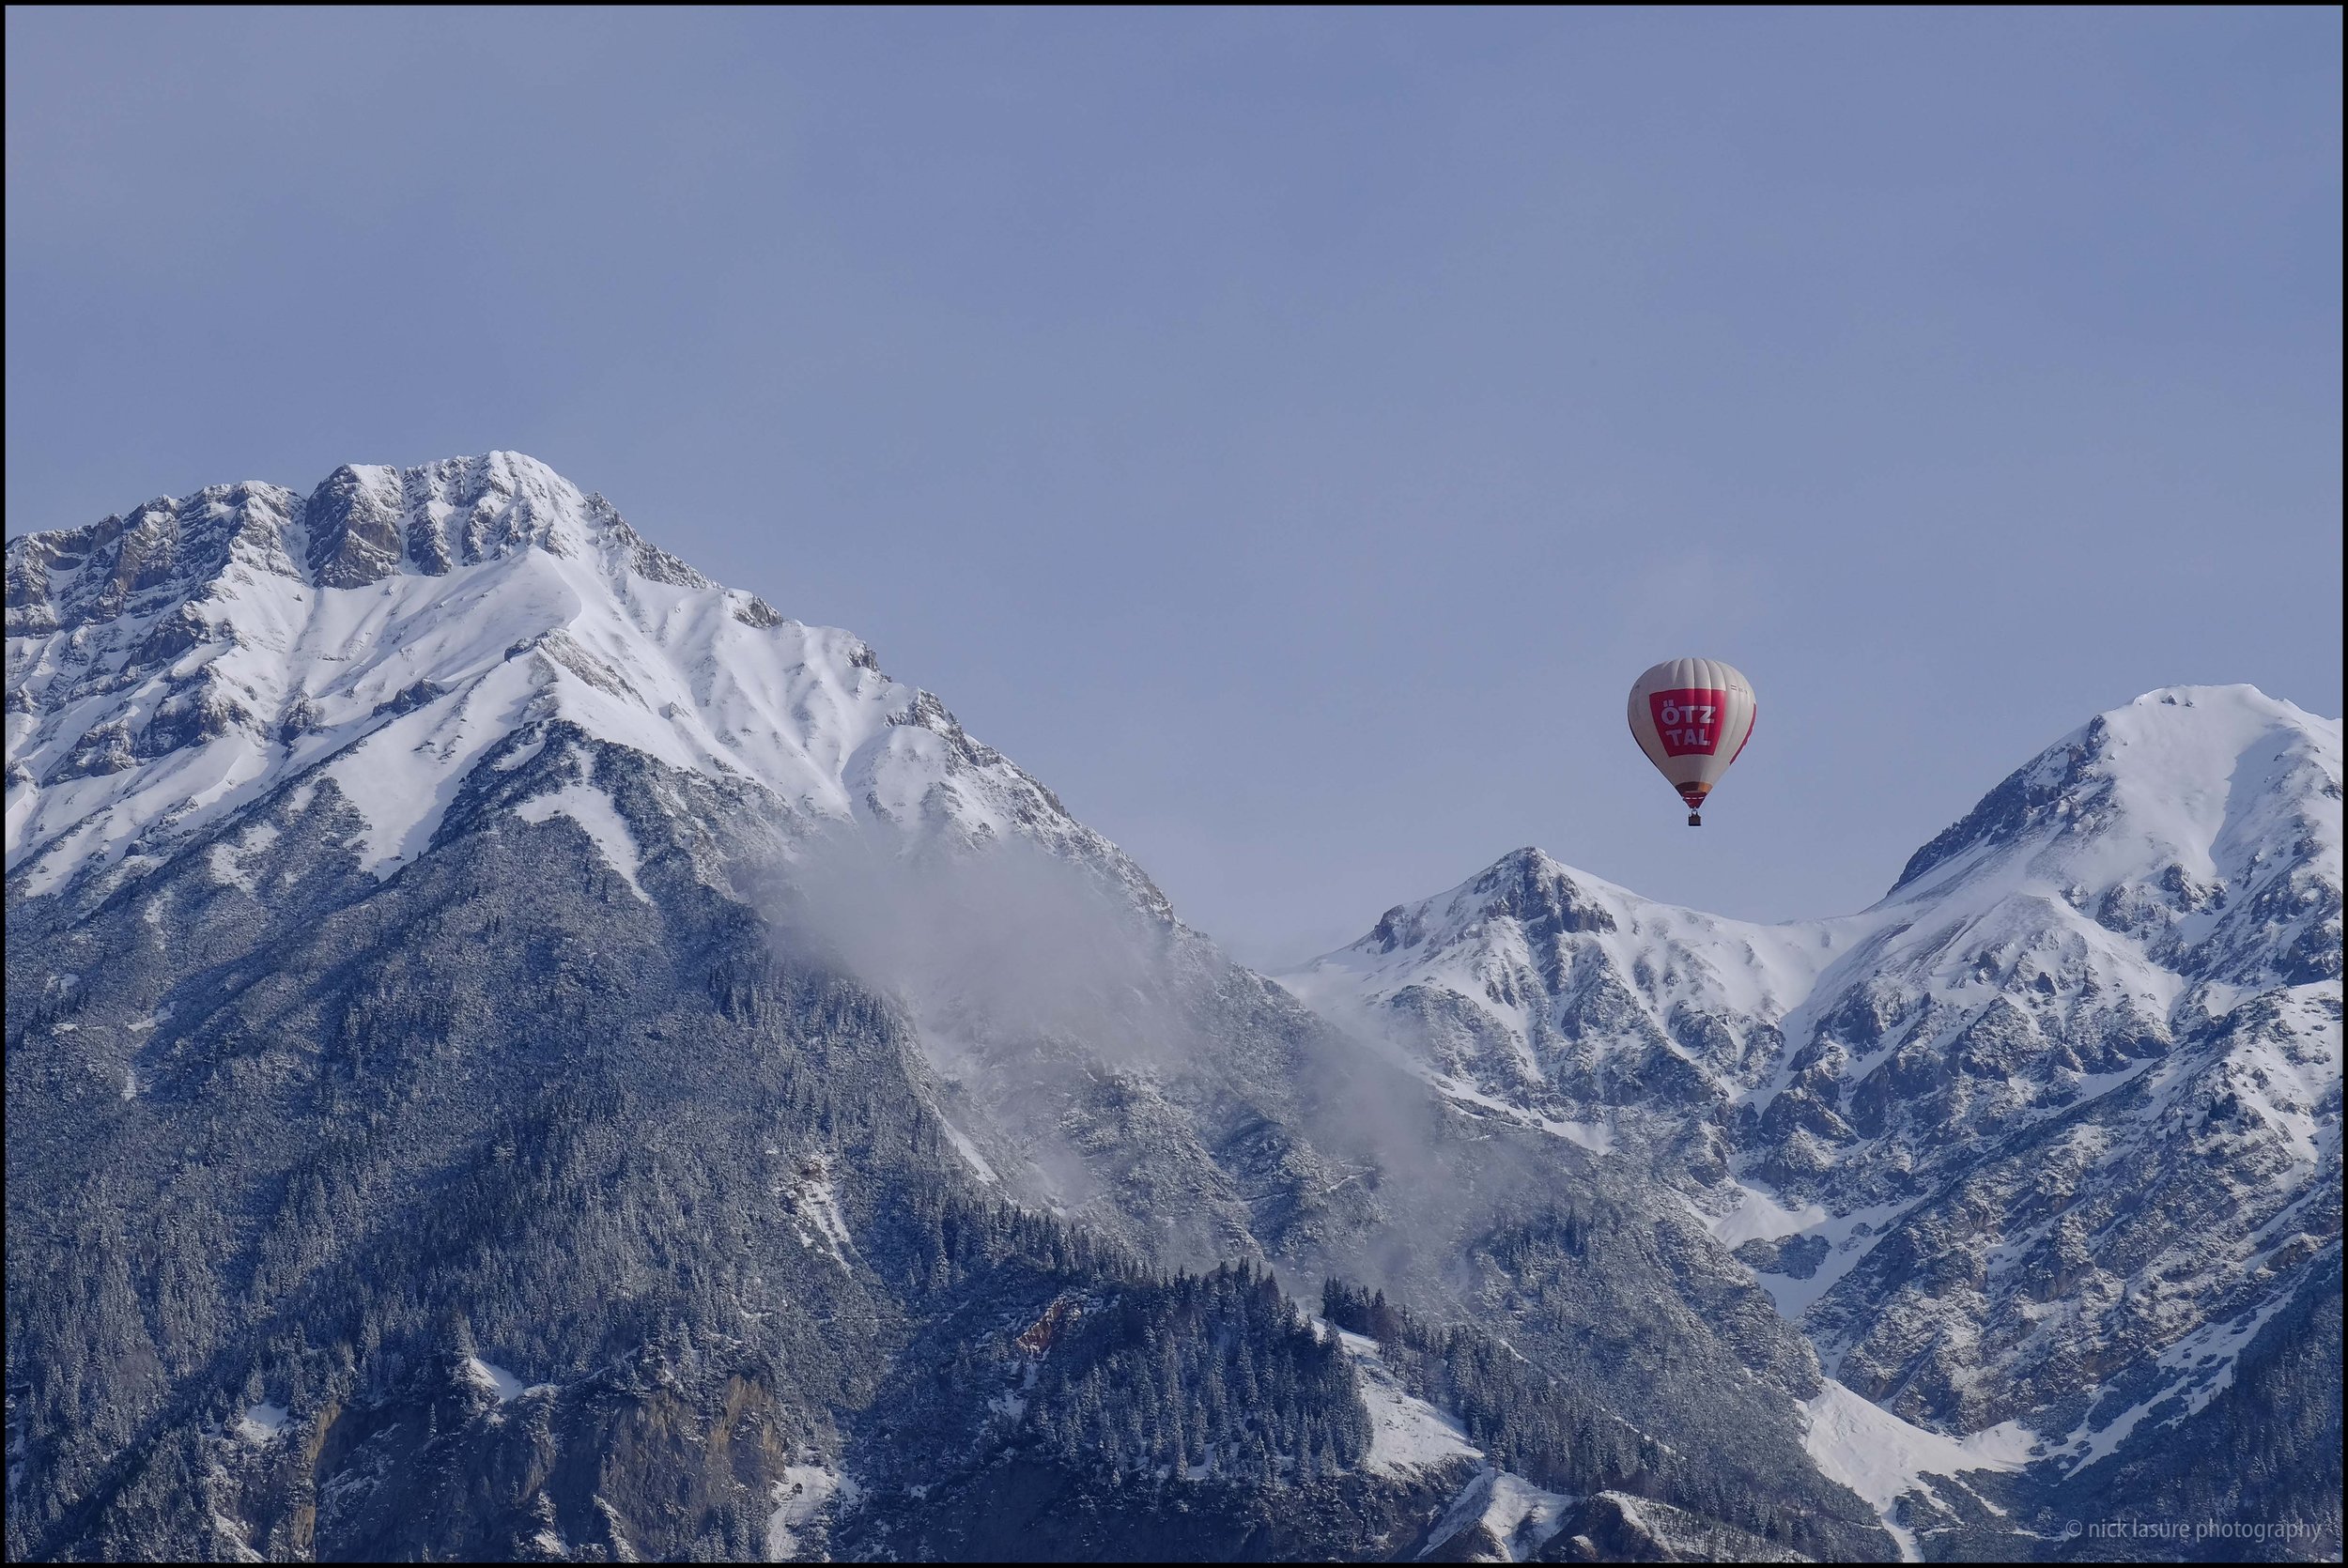
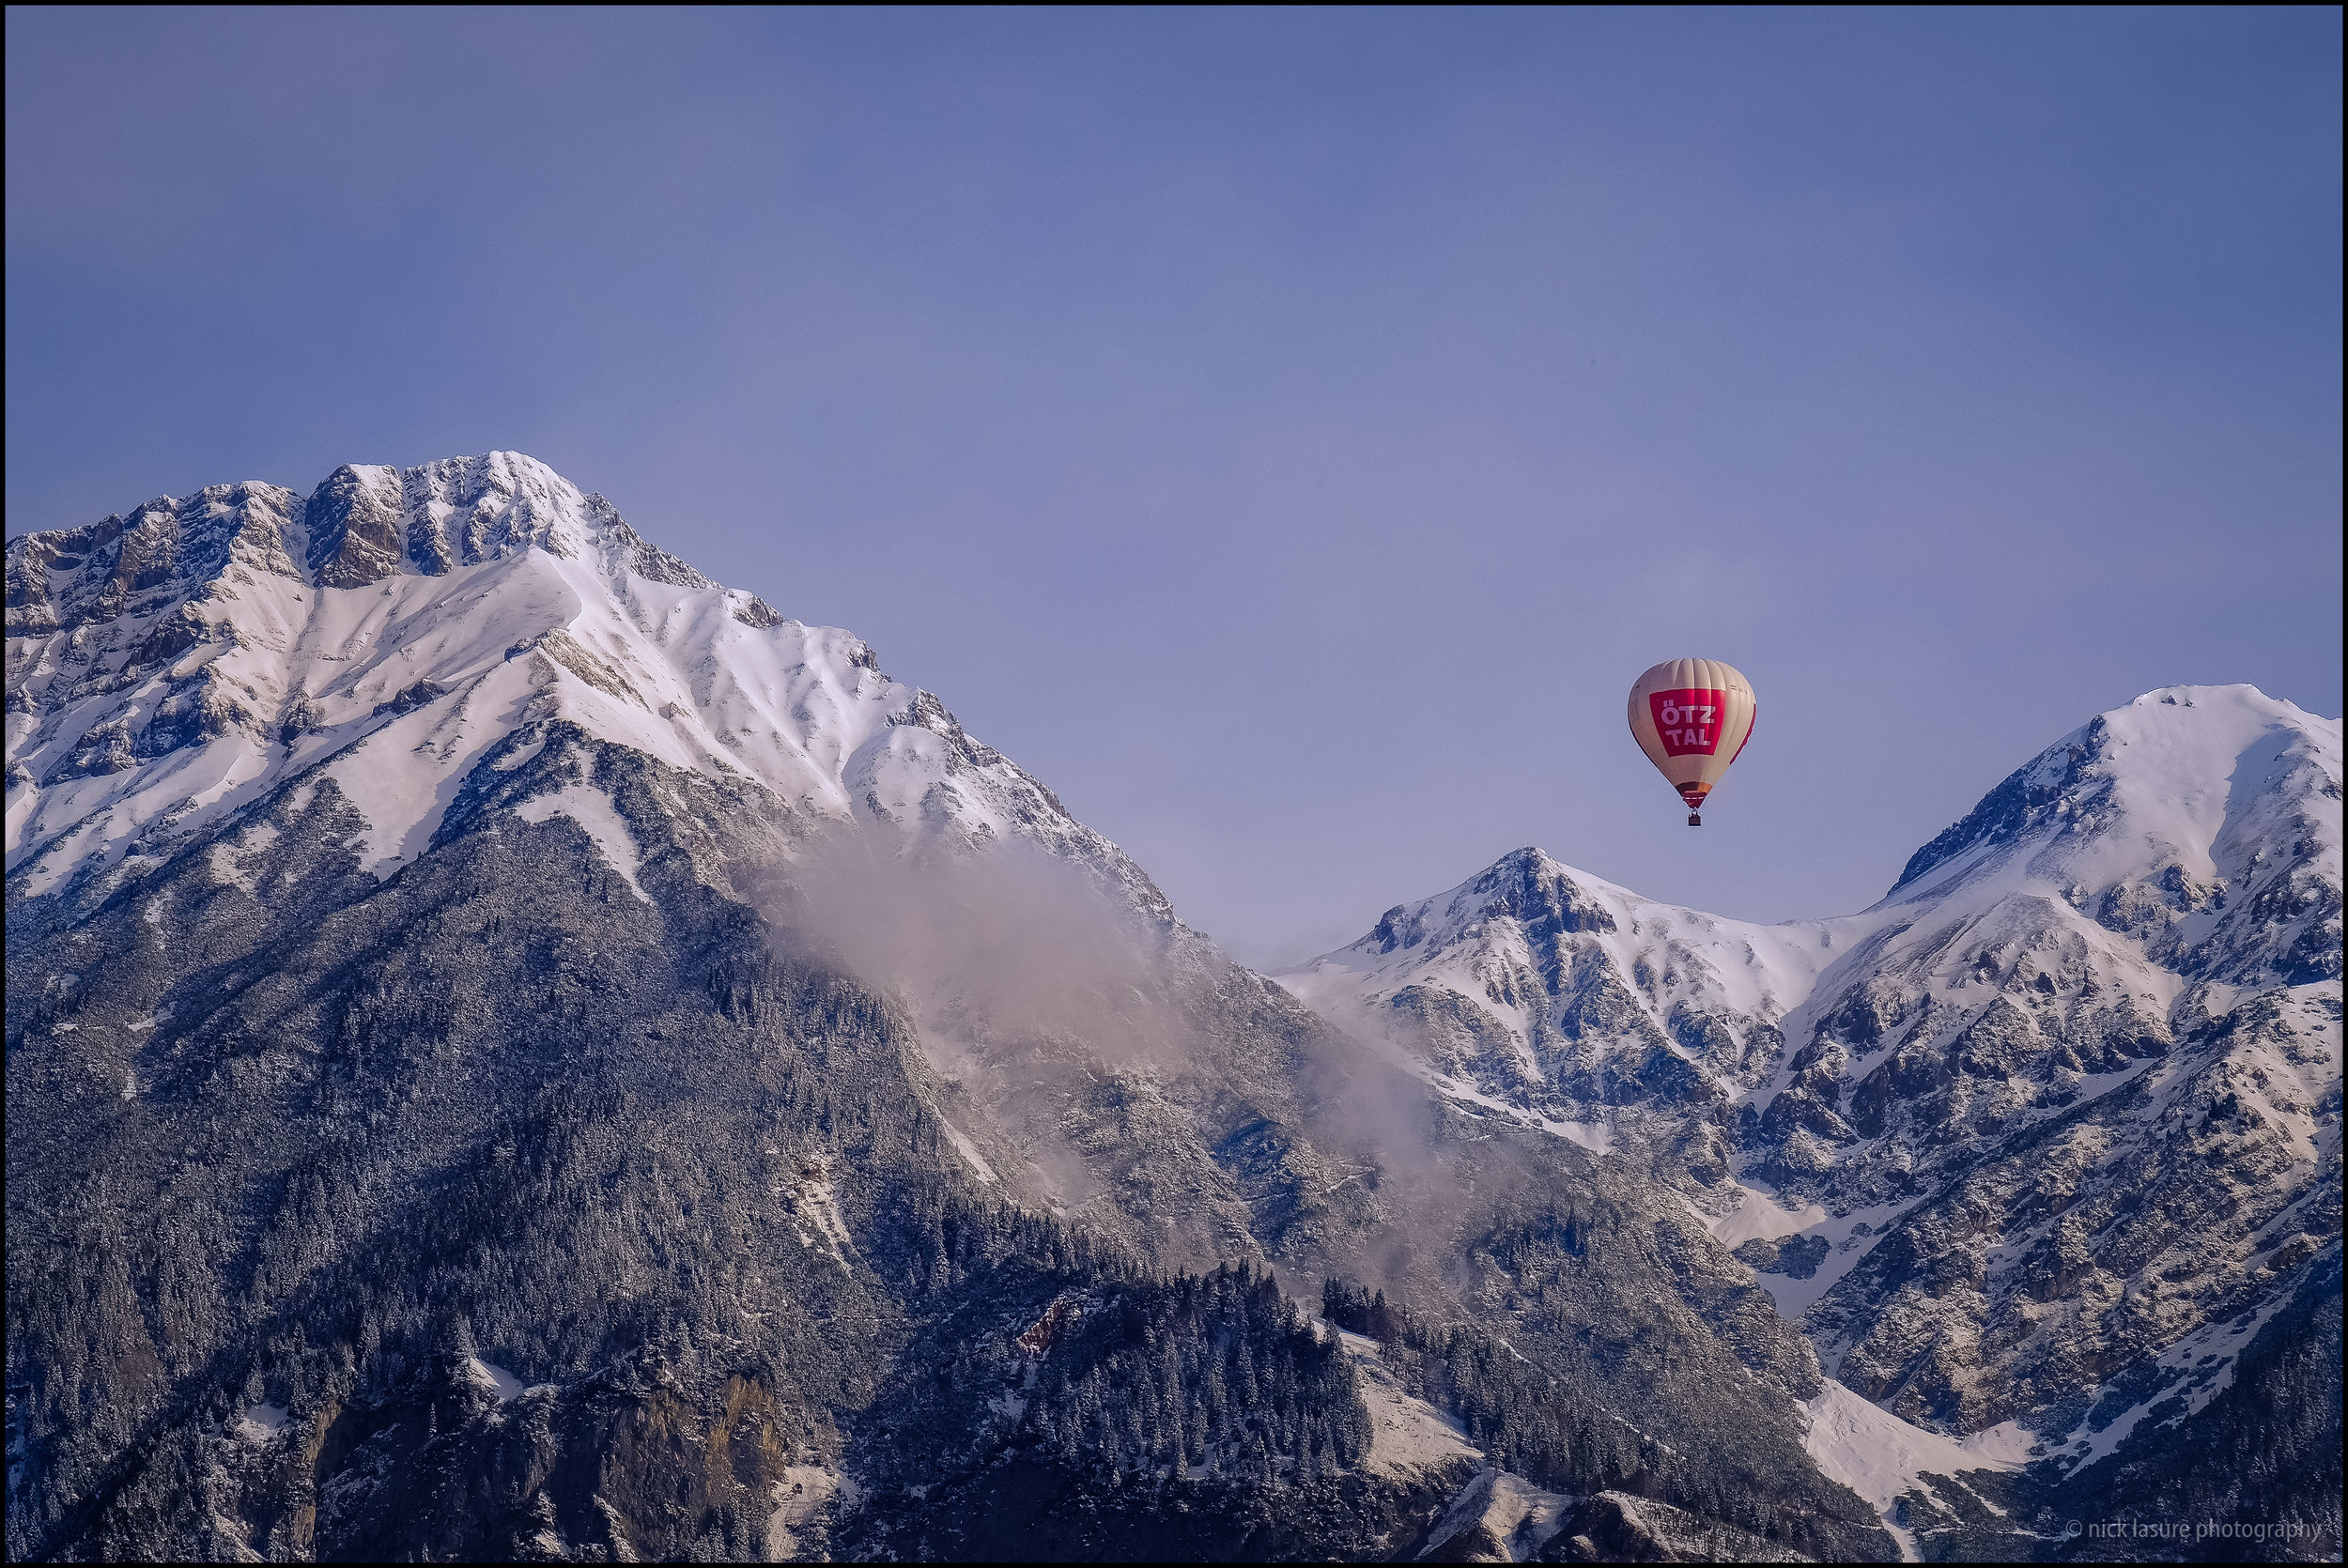
Before/After #3 - The final image was taken from our balcony in Innsbruck, Austria while on holiday. Once again, the first image was well exposed from my Fuji X-T1 and another SOOC JPEG. I utilized the entire suite of options from the 'Through the Woods' landscape preset offering to include local brush adjustment presets. (1) Base - Cinematic (2) Exposure - Less Highlights (3) Color Correct - Reduce Yellows (4) Tone/Tint - Warm (5) Polish - Sharpen (6) Vignette - Subtle Black + Bright Shadows Adjustment Brush on the ballon and Darken Shadows Brush on the mountains. 

Conclusion - Presets Worth the Investment?

So in the end are presets like what Sleeklens offer worth your hard earned money? Absolutely, but with a few caveats you should consider.

Preset packages tend to come with lots of looks/options some of which are superfluous or overkill for some photographer's editing needs, this package included. With so much at your fingertips it is easy to over-edit your images or just get lost in the editing process. If you know your way around Lightroom and have your own style chances are flooding your presets menu with more options isn't for you.

That said, presets tend to help photographers develop their style, help work through editing mental blocks and can be useful in learning how to edit as you can see the changes that happen.

While presets can be a dime a dozen the Sleeklens offering is different enough in the building block/layering methodology to offer something unique. While I'll remove certain presets & brush/gradient options I'll definitely keep a lot of it around for future use. If you are in the market for presets I'd definitely give them a solid look. 

https://sleeklens.com/product-category/lightroom-presets/

https://sleeklens.com/lightroom-tutorials/

*disclaimer - I did receive the presets free in exchange for an honest review.


Search for the Ultimate Travel Camera

Ahh, the mythical and often sought ultimate 'travel' camera. Is it a myth or reality? If you are ready to join me, I'm about to go down the rabbit hole in search of the best travel camera for my needs. And who knows, maybe your needs too as I happen to be in the market to replace my older Nikon P7000 and Sigma DP1s point & shoot cameras. The timing for this adventure in specs & details couldn't be better.

So why am I in the market for a new travel camera? As I've mentioned previously I'm an airline pilot and of course travel on a weekly basis. I usually keep one of the aforementioned smaller point & shoot cameras in my messenger bag for a general walk around camera as I'm exploring various locales each week. On trips where I intend to do more 'serious' shooting I'll of course bring the much more capable & amazing Fuji X-T1 along with the rest of my kit (tripod, filters, lenses, etc.) but I do enjoy having a high quality compact camera with me at all times.

The impetus to move forward with finding a new camera came a few weeks back from a licensing inquiry. Last year I snapped the image below with my much loved but also despised at times Sigma DP1s in Devils Lake, North Dakota. The client desired a larger version of the picture but I had already cropped it from the maximum file size that the DP1s produces (2652x1768 pixels). Thus the best I could do was upsize it in Photoshop with decent result. After that request I realized I needed a much more capable camera for my weekly travels as I do happen upon portfolio & large print worthy shots from time to time.

A cold sunset in Devils Lake, ND | Sigma DP1s

Travel Camera Defined

So before we proceed, we should define what exactly constitutes a 'travel' camera. Opinions will of course vary for many photographers, as anything from a larger DLSR to a mirrorless ILC to a smart phone might be the answer for some. For me a 'travel' camera is defined as a compact, fixed lens, high image quality capable camera that can be easily tossed in your daily bag or jacket pocket without trouble. If you are bringing multiple lenses or need a separate camera bag that defeats the purpose of a true travel camera. While budget constraints will affect the ultimate selection, I'm going for the higher end $700 - $1,200 point & shoot cameras that will meet my own performance, quality & printability needs. 

Along with my general description above, I'm also looking for the following key aspects in said camera: excellent image quality & large sensor, good ISO performance, wide'ish angle lens for landscapes, fast lens (f/2.8 or faster), tilt screen, rugged build, external controls, built in ND filter a plus, decent macro, and perhaps limited zoom though a single focal length is just fine. 

Things that I'm not looking for in my quest for the ultimate travel camera are as follows: mega zoom range (lame), interchangeable lenses, bulky design, fancy automated shooting modes (give me manual control!) or video capabilities. 

For comparison sake an image from the Nikon P7000 - Keeping an eye on the storm from 32,000 feet | Nikon Coolpix P7000

The Contenders

So, which cameras fit into my definition?

I'm currently researching five different cameras from 4 different manufacturers. The soon to be released Nikon DL 18-50, Fuji X70, Fuji X100T, Panasonic Lumix DMC-LX100 and the Sony DSC-RX100 IV. Each camera has its strength & weaknesses which I'll attempt to briefly highlight below so as to not write a novel.

The 5 choices left to right - Nikon DL 18-50, Fuji X70, Fuji X100T, Lumix DMC-LX100 & Sony RX100 IV. Photo credits to respective manufactures.

Nikon DL 18-50 - MSRP $850 - as a current Nikon shooter (and former Nikon DSLR shooter) I'm actually quite excited about this camera. Although Nikon are a bit late to the game in introducing larger sensors in compact cameras, they seemingly have a great offering here. The DL 18-50 (uninspiring name btw) hasn't been released yet so I'm a bit hesitant to pull the trigger before some extensive reviews are out there. Or better yet, I get my own hands on it!

Pros: good zoom range without being ridiculous, wide aperture throughout focal length, 20.8 MP backlit sensor, image stabilization, good ISO performance, compact size, touch/tilt screen

Cons: new camera with limited reviews, Nikon smart phone app gets bad reviews, no flash or viewfinder

(quick note - to make matters even slightly more confusing I'm adding the Nikon DL 24-85 for consideration due to its macro capability, specs otherwise are the same as the DL 18-50 though of course not quite as wide)

Fuji X70 - MSRP $700 - as a current Fuji owner the immediate familiarity with this or the X100T make both cameras leading contenders. I absolutely love the images my X-T1 produces with that classic Fuji look and both cameras will produce great results with the X-Trans sensors. The compact size of the X70 makes it very attractive indeed. Though similar to the Nikons above, it is a new release as of February 2016 so not many reviews out there just yet. However I'll be renting one next week to see what I think.

Pros: compact size, budget friendly, same 16.3MP APS-C X-Trans sensor as more expensive Fuji options, touch/tilt screen, 18.5mm lens (28mm equiv) is great for landscapes, actual aperture/shutter/EV dials, digital crop feature to increase reach of lens (unsure of quality though), hybrid autofocus

Cons: no image stabilization, no built in ND filter, no optical viewfinder, 2nd smallest resolution size of the five, max aperture of f/2.8 not the widest but overall good

Fuji X100T - MSRP $1,300 - honestly this is probably the leading contender right now, though the price tag is higher than I was hoping to spend for a walk around/travel camera. The X100T has many features I'm looking for and yet it isn't the equivalent of my X-T1 nor is it 'too much' as the XPRO-2 would be for my weekly travel needs. With the rumored Fuji X-T2 also coming out in the fall, I shouldn't go overboard for a travel camera either as I'll be picking up the X-T2.

Pros: basically an XT-10 (not quite X-T1) wrapped in a compact body, great ISO range, fast lens with quality Fuji optics, built in ND filter, good resolution, 35mm focal length

Cons: largest camera among the five, no image stabilization, rumored replacement forthcoming in the fall (see below for thoughts), no tilting LCD screen, expensive but currently around $1,000USD

Panasonic Lumix DMC-LX100 - MSRP $800 - this camera has been a favorite among many photographers and offers many great characteristics. My main hesitation in purchasing it is that most likely Panasonic will release a new version this fall. I don't want buyer's remorse later on, especially after a likely price drop after the replacement is announced.

Pros: good image quality, zoom range, 24-75mm, large sensor, good autofocus, good battery life, manual controls, good deals to be had right now

Cons: replacement due fairly soon, reported lens flare issues, no tilting LCD screen, smallest max resolution of the five

Sony DSC-RX100 IV - MSRP $950 - another fan favorite, the Mark IV RX100 has won over many photographers. Its very compact size with respect to image quality is enticing to be sure. Though it lacks the external controls for quick adjustments which is a turn off. And while I don't need a camera to look 'sexy' it lacks the retro look that so many others have launched of late that I am honestly smitten with.

Pros: Zeiss f/1.8-2.8 lens, 20.1 MP 'stacked' sensor, tilting LCD, built in ND filter, responsive, truly pocketable

Cons: lacks the retro look & no external dials for quick adjustments, very particular about SD card type (bad when traveling perhaps if other cards fail), short battery life

Ok, So Now What?

One final option would be to simply purchase the Fuji 18mm f/2.0 pancake lens, slap it on my X-T1 and always have that with me. Though there are a handful of issues with that approach:

  • I prefer having a good camera for my wife to shoot with when we travel together. She has captured some amazing images, so having a good camera in her capable hands is always smart.
  • I don't want my primary camera to get unnecessary wear & tear each week.
  • I'll also bring two cameras when out by myself in case one fails or the other is busy doing a time-lapse for instance.
  • Slapping the 18mm on and calling it a day with would defeat the entire purpose of this post ;)

So there you have it! Over the next month or two I'm going to do a handful of rentals, hit the camera store and attempt to find my ultimate travel camera. Though I realize there is probably no such thing, I believe one of these will be a very good fit with few compromises. I'll plan to report back with my choice and will give a full breakdown of its performance.

So what do you think? Am I on the right track? Have you shot or do you own any of these cameras? Did I miss any? Please feel free to comment below on what you think might be your choice for ultimate travel camera.